It’s just a fact folks. Whether you are a knitting beginner or an experienced knitter, at some point in your knitting journey, you are going to have to join a new skein of yarn while working on a project.
This can happen when you come to the end of your first skein of yarn or your project calls for a color change. Your project may even require a change of color in the middle of a row!
Regardless, the same technique is used in all three cases. Thus, this is an extremely important skill to master.
Adding new yarn might seem scary. I know I was terrified the first time my project called for a color change. I actually broke out in a cold sweat! But, truthfully, there’s no need to panic.
Joining a new skein of yarn to your knitting project is much easier than you think. Let me show you how!
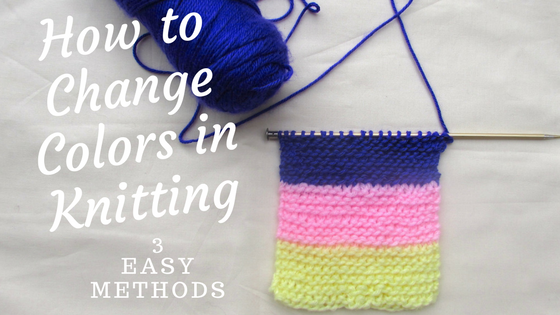
How to Add a Skein of Yarn at the End of a Row in Knitting
Adding more colors to your projects is a great way to give contrast, interest, and personality to your knitted works. If you are a beginner, adding colors to your project can make your work look more sophisticated, which, in turn, can give you the confidence of a seasoned pro!
This knitting tutorial will guide you through the process of adding a new skein of yarn by demonstrating three super easy methods to change colors at the end of a row.
You can use these simple methods to change colors for stripes, random color changes, and even fair isle knitting.
Method One
I call this one the “drop & grab”. Although this is not official knitting terminology, I think it suits the technique!
Step 1
When you are at the end of a row and want to change colors, simply drop the old yarn end.
Step 2
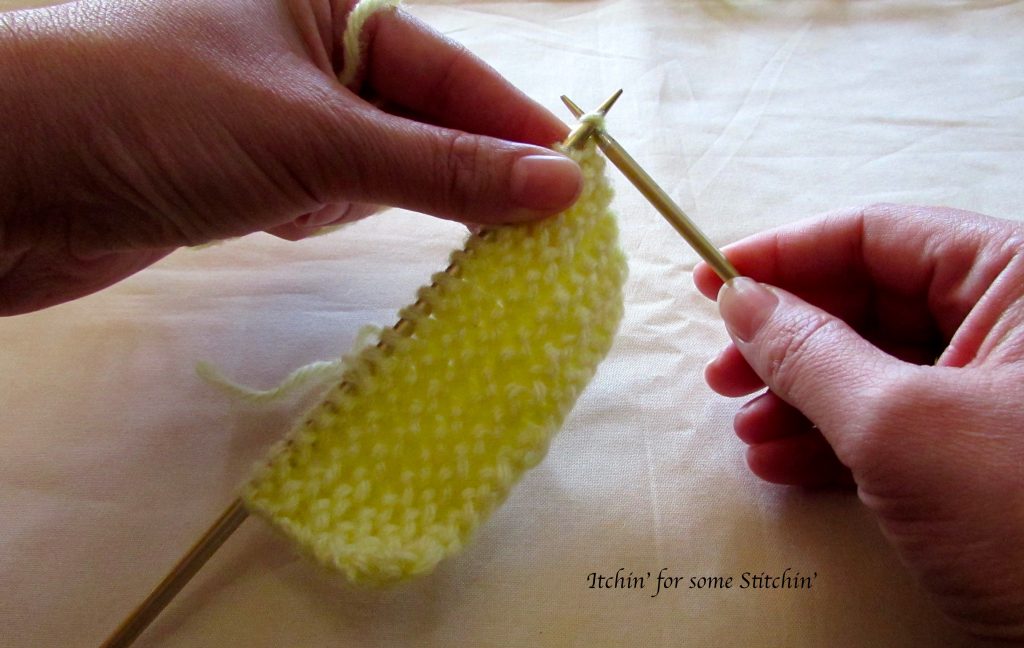
Insert your working needle into the first stitch on the needle with all the stitches.
Step 3
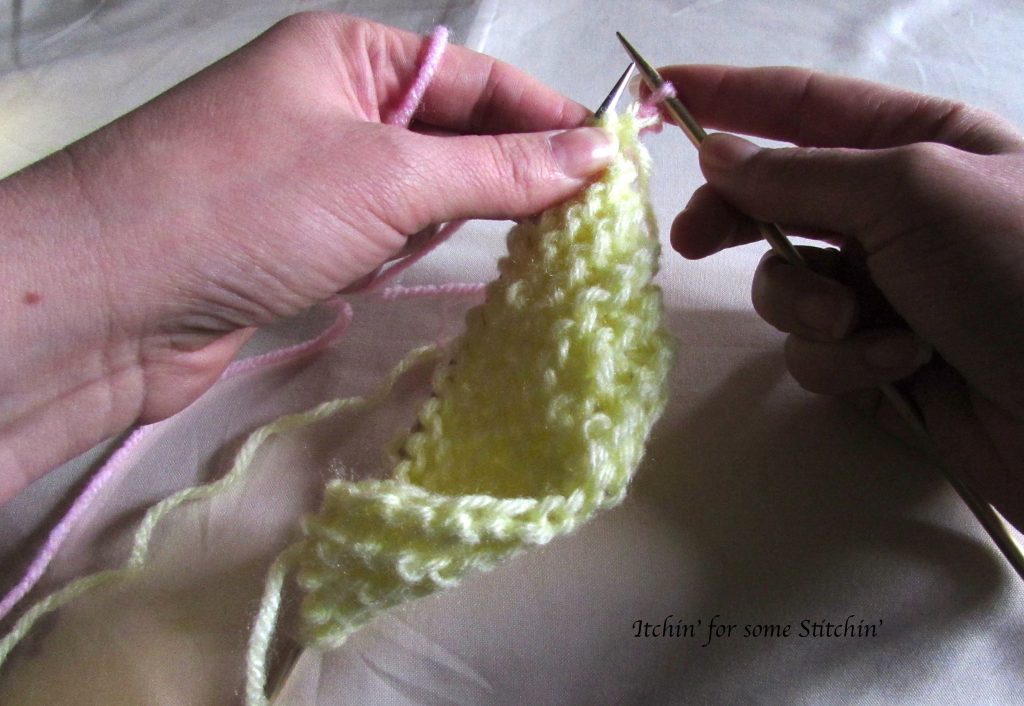
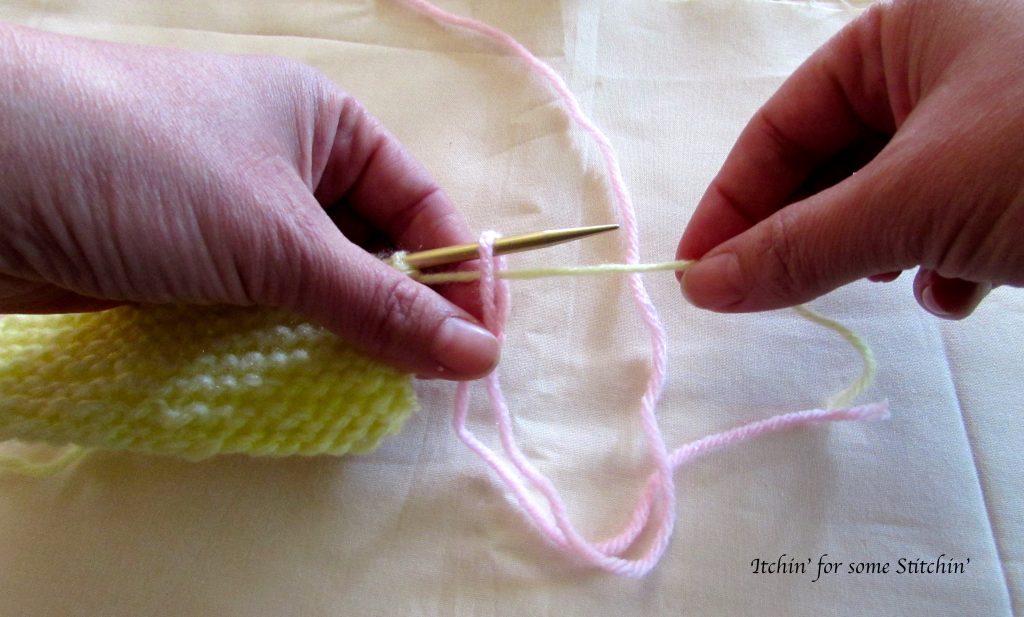
Grab the new yarn and fold the end so that a loop is made leaving at least s 6-inch tail.

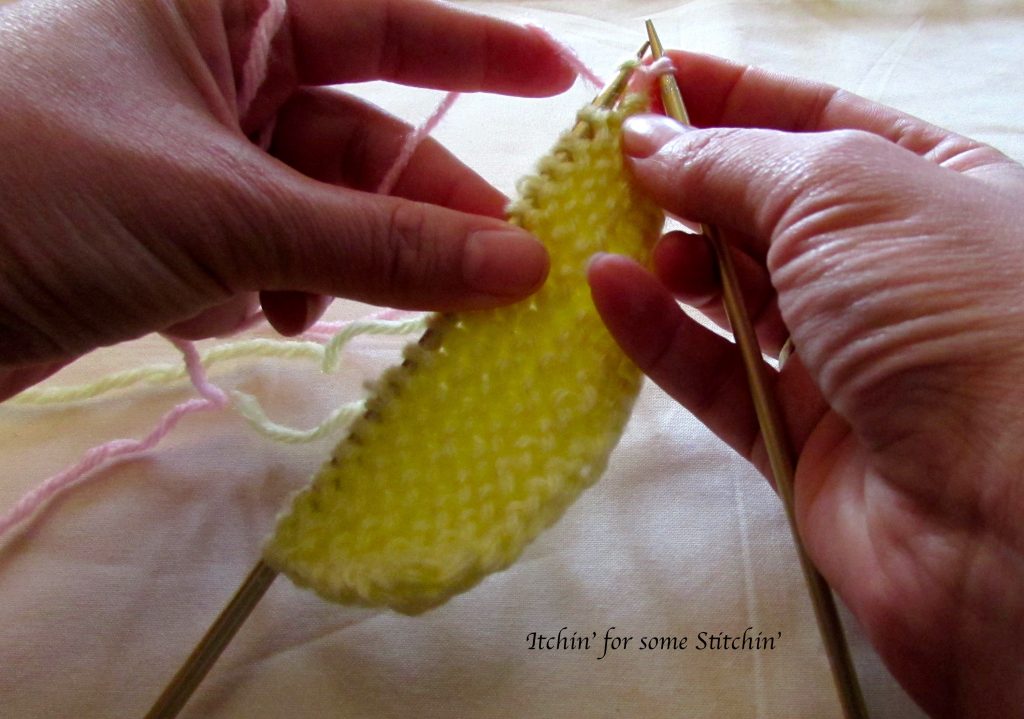
Step 4
Place the loop onto the tip of the working needle.
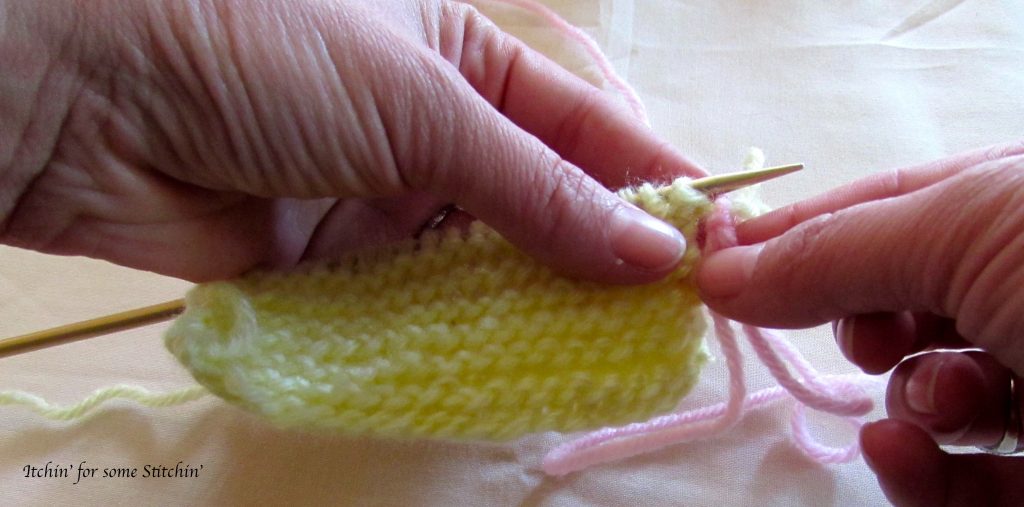
Step 5
Draw the new yarn through the old stitch and if needed, gently tug on the tail of the new yarn to tighten the stitch.
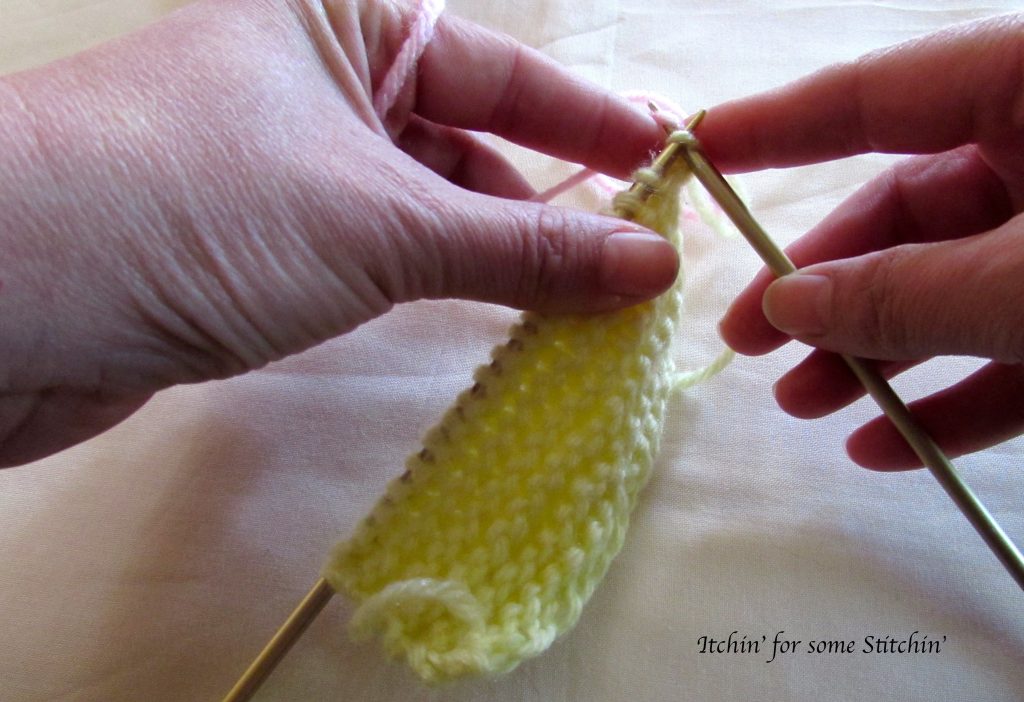
Step 6
Continue knitting with the new yarn.
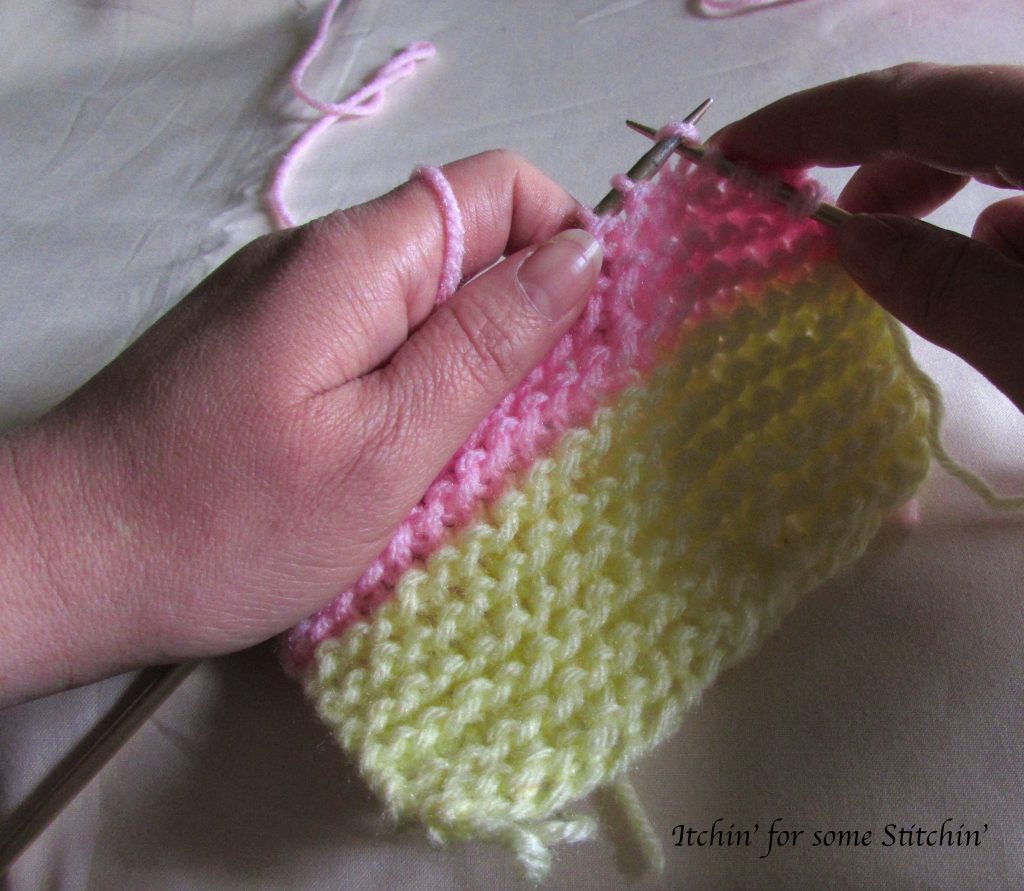
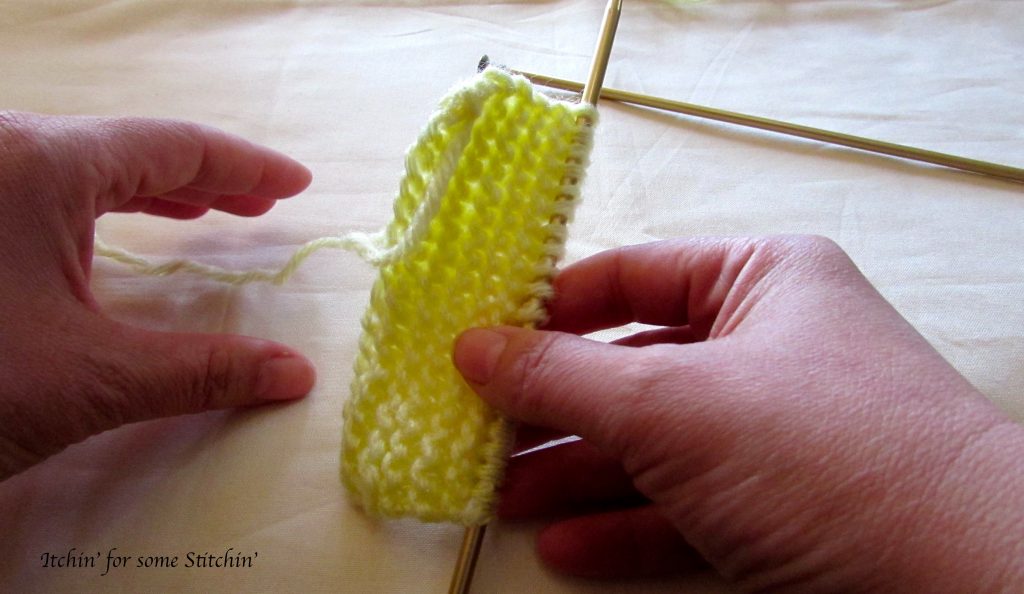
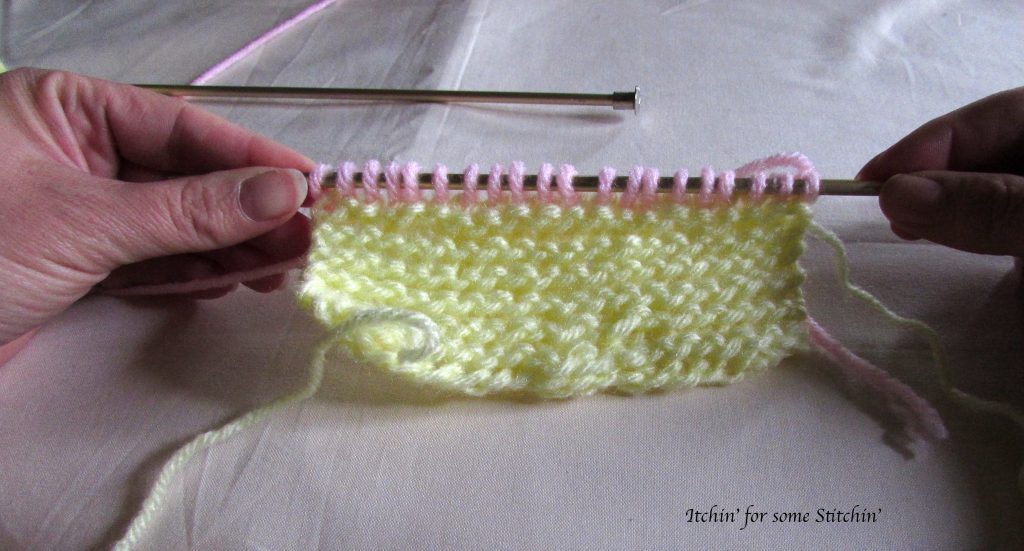
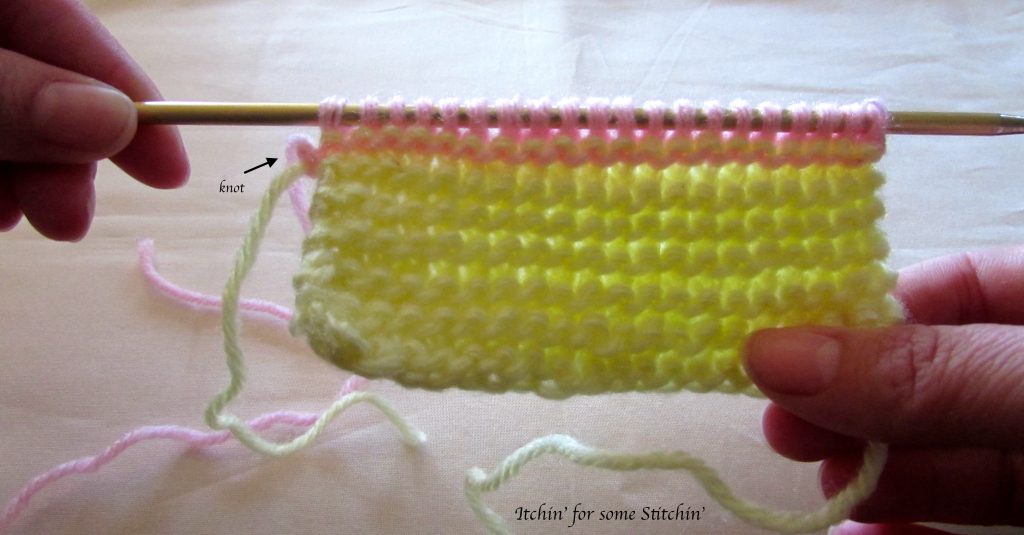
For all 3 methods, your work will begin to look like this as you continue to knit.
Pros
This method has at least two big advantages. One is that, since you don’t have to cut the old yarn, you can carry it up the side of your knitting project. This reduces the number of ends you would have to weave in if you are knitting stripes or your project calls for frequent color changes.
The other advantage is that you don’t have to put your needles down because adding the new skein of yarn can be done one-handed. That makes this a super quick technique!
Cons
On the other hand, because the new skein of yarn is not secured to the needle, maneuvering the new yarn can take some practice. More often than not, especially when I was just learning, the new yarn would slip off the needle before I could knit the first stitch.
For beginners, I think this is the most challenging method, but once mastered, it becomes the simplest and fastest method.
Method Two
The “slip-knot” technique. Again, this is not actual knitting terminology, but I like to name things in a way that helps me remember them.
Step 1
When you reach the end of the row, drop the old yarn end. (See picture above for Method One, step 1)
Step 2
Make a slip knot with the end of the new skein.
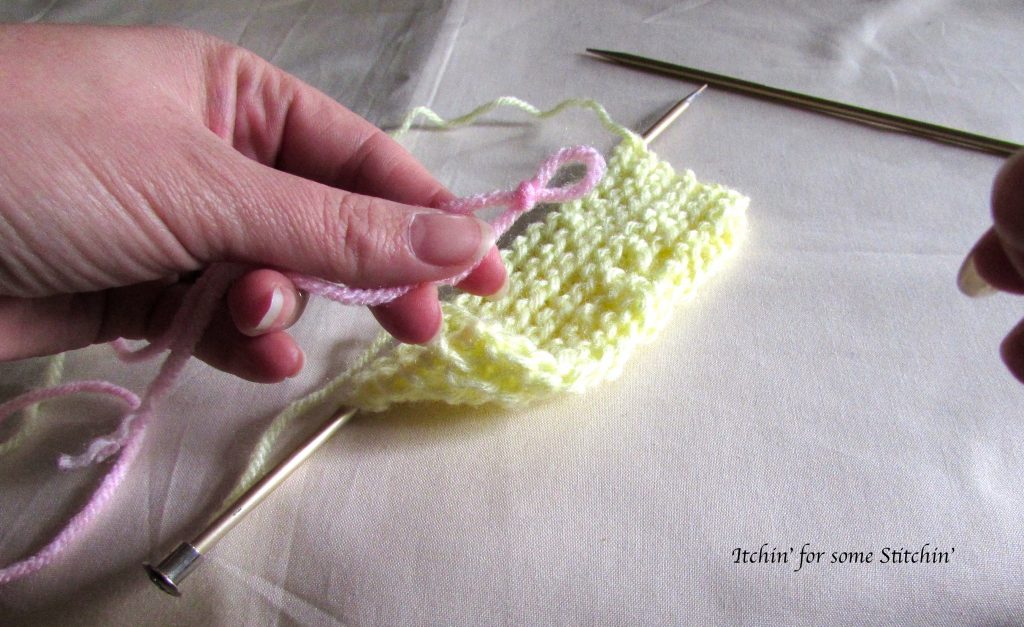
If you don’t know how to make a slip knot, see How to Make a Slip Knot for a review.
Step 3
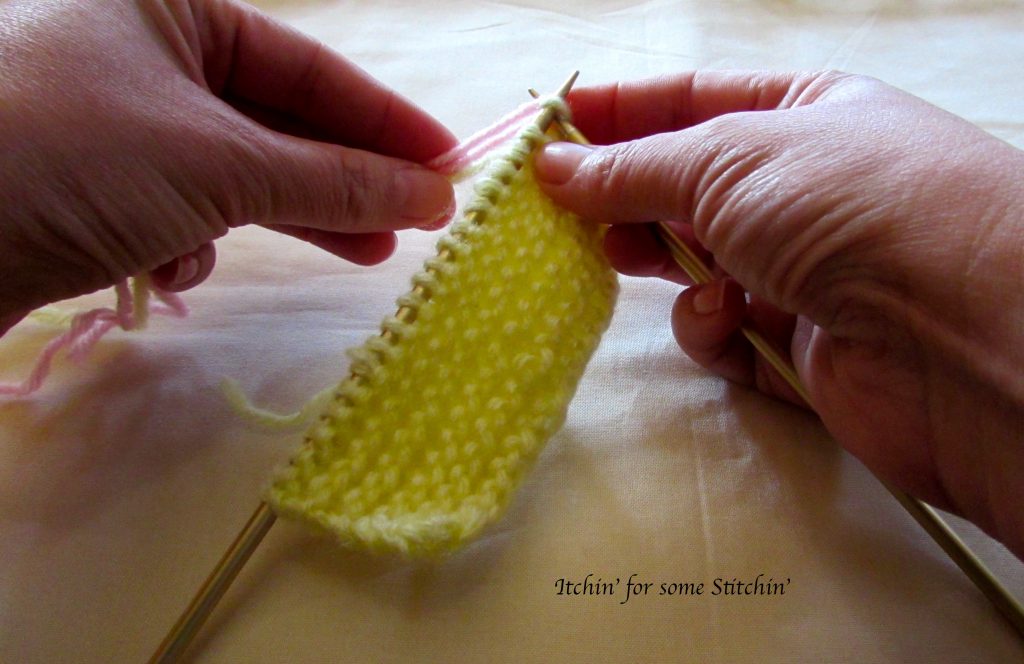
Place the slip knot on the needle with the stitches.

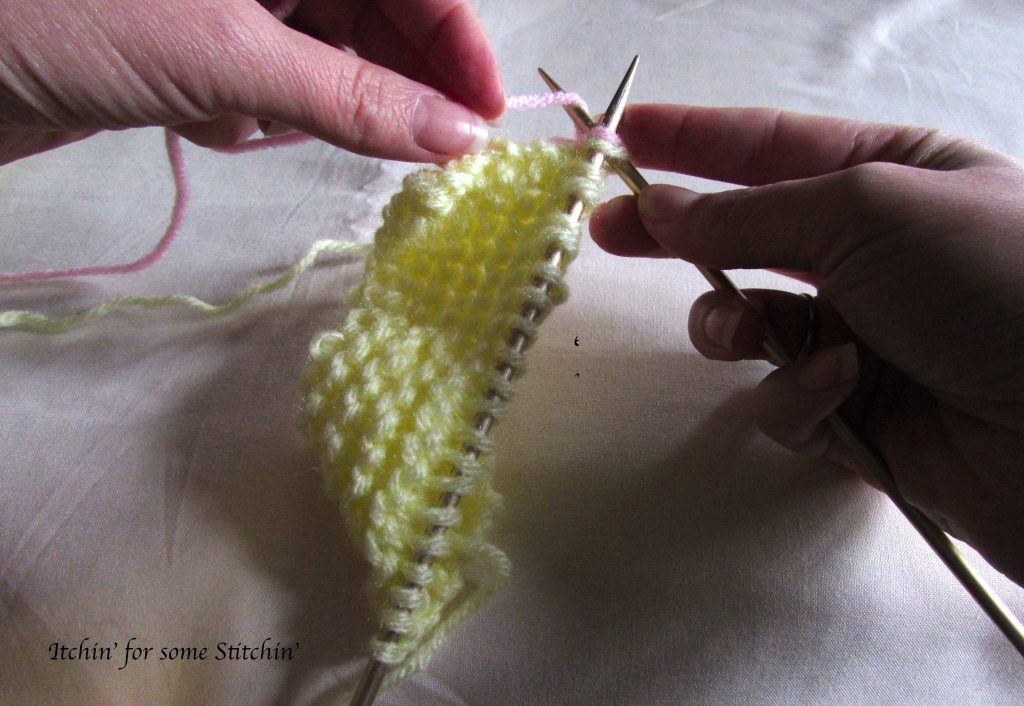
Step 4
Put the tip of the working needle through the back of the last stitch of your first color & the slip-knot of the new color.

Step 5
Continue knitting with the skein of yarn.
Pros
Like method one, you do not have to cut the old skein of yarn. Thus, you can carry it up the side of the knitting project if you will be changing colors frequently.
This avoids having to weave in a ton of pesky ends!
If you need to review the knit stitch, see Beginner Knitting: How to Knit the Garter Stitch.
Cons
Since you are knitting through two loops in step 4, your first stitch with the new color or ball of yarn can be a little bulky. Ultimately, it doesn’t really affect your knitting project and the different colors will blend, but it can feel a little strange until you get used to the technique.
Method Three
This one is a variation of the “slip-knot” technique. I call it the “slip & pull”. Again, this is my own naming system.
Feel free to use my terms or make up your own!
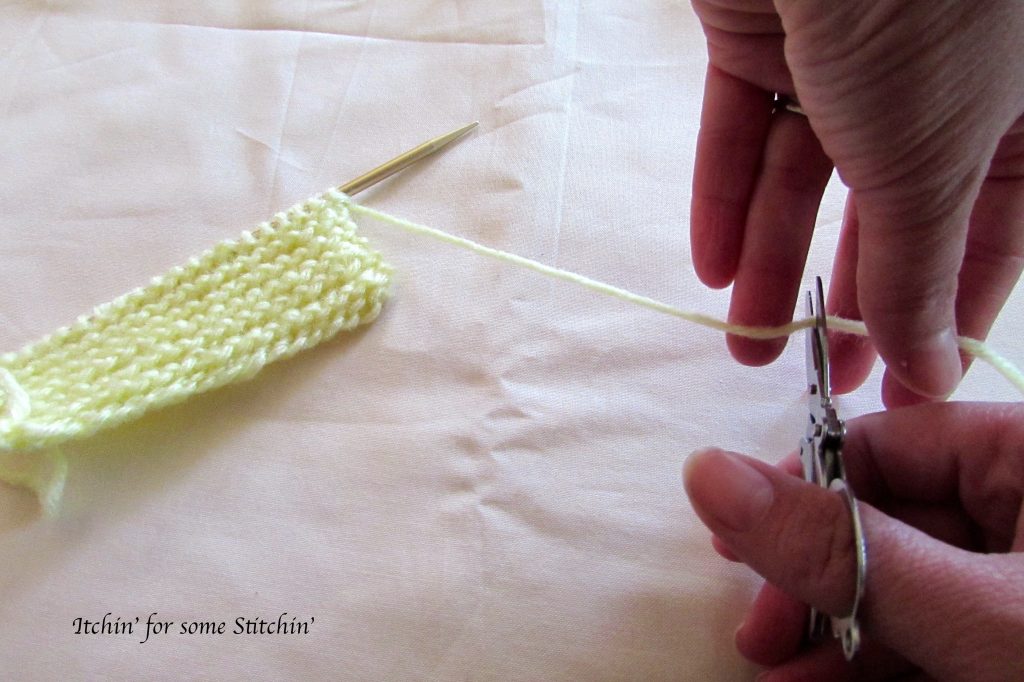
Step 1
Cut the old yarn leaving at least a 6-inch tail.
Step 2
Make a slip knot with the new yarn.
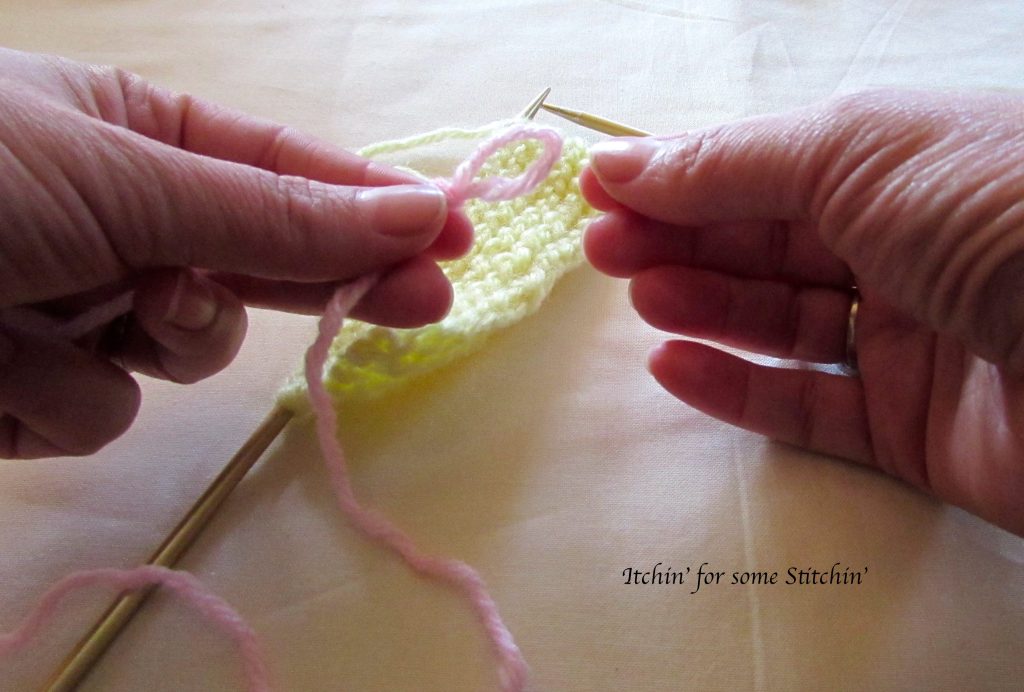
Step 3
Pass the old yarn through the slip knot.
Step 4
Slide the new yarn up to the base of the first stitch of the old yarn and tighten the slip knot.
Step 5
Continue knitting with the new ball of yarn.
Pros
Like the “slip-knot” technique (method two), this method secures the new yarn to the project you are working on. This makes it easier, at least initially than the “drop & grab” technique (method one) as there is no way the new yarn can slip off while trying to knit the first stitch.
Cons
The drawback to this method is that it will leave a knot on the side of your project. The closer you slide the slip knot to the base of the old yarn in step 4, the less the knot will show. Regardless, it will still be there. The knot may blend in nicely once you weave in ends but still may show slightly. It may be undetectable if you don’t know it’s there, but if you are picky about knots in your knitting, this may not be the technique for you.
If you like method three and you want to limit the number of tails you will need to weave in, dummies.com demonstrates this technique without cutting the original yarn. Instead, it uses tacking, a way to carry your yarn up the side edge by twisting the two yarn colors. It also shows two other ways to knit stripes.
Finishing
When you are done making your color changes or adding your new skein of yarn of the same color, you should do four things.
- Cast off your knitting. For a review, see Beginner Knitting: The Easiest Way to Bind Off.
- Cut the yarn that is still attached to the ball of yarn, leaving at least a 6-inch tail.
- Weave in the yarn ends. Unless you carried the yarn up as you knitted, you will have yarn tails hanging along the side wherever you added a new skein of yarn. You will also have yarn tails at the beginning and end of your knitted work. These are easily hidden by weaving them into the project.
- After you finish weaving, snip the yarn tails close to the end for a nice tidy finish.
You’re all done! Now, that wasn’t as difficult or scary as you first thought, was it?
What’s your favorite way to change colors in knitting?
Until next time… Happy Knitting!


P.S. Don’t forget to subscribe to the blog and download my free knitting needles sizes & conversion chart to add to your knitting toolkit!
Nannymed.Com
Monday 13th of April 2020
When you re ready to start working the second color, simply drop the first color and pick up the yarn for the second color.
Itchin4Stitchin
Monday 13th of April 2020
Right - That's method #1
Thanks for stopping by!
Best,
RaeLynn
Jodie
Tuesday 21st of August 2018
This is a great resource for newbies to knitting Raelynn. Thanks for sharing. I've included your post in our latest craft inspiration roundup. https://craftylikegranny.com/lifelong-learning-of-craft/ Cheers Jodie :)
Itchin4Stitchin
Tuesday 21st of August 2018
Hi Jodie,
Thanks so much! I appreciate you sharing the post and please feel free to share any others you feel may be valuable to your readers.
Best wishes,
RaeLynn